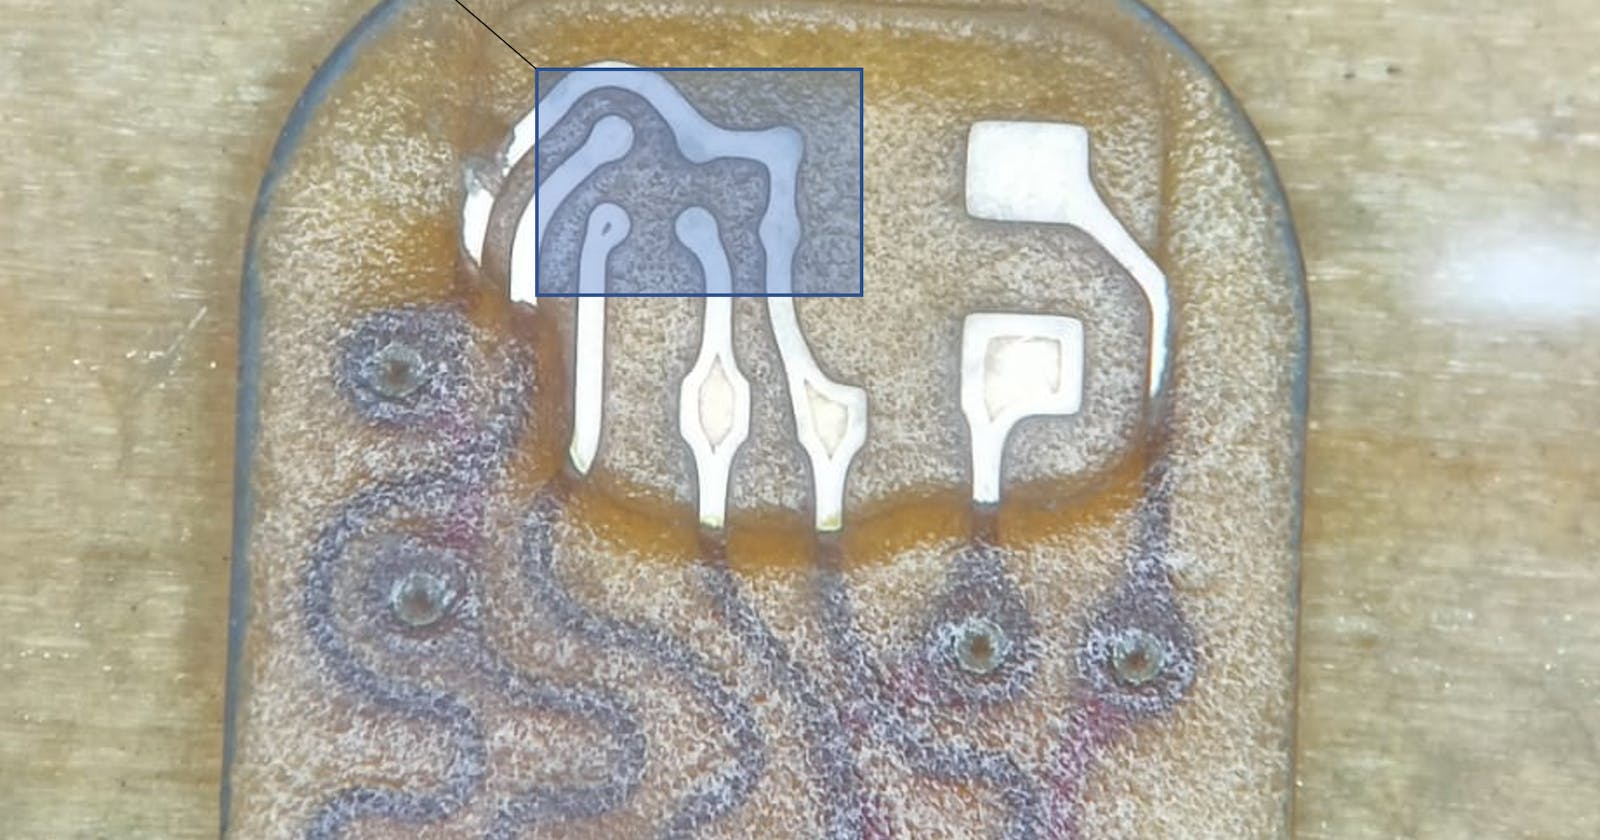
This is a classic situation that "should never happen in the first place," but here we are. In my Master thesis project, we were given the specification that a stretchable PCB shall be fitted with a Texas Instruments TMP117 ball grid array (BGA). Since this was my first serious PCB design job, I had no clue what kind of problems this would get us into, so I had no objections to complying with the request and going ahead with the design as requested.
Here's what makes this a worst-case scenario in terms of handling and solderability:
- Melting point of the PCB: 155-185°C
- Thermal decomposition of the PCB material: 250°C
- Standard lead-free BGA soldering, liquidus temperature: 217°C
- The PCB surface below the BGA is uneven because of the PCB fabrication process
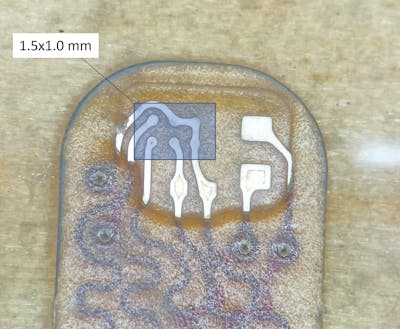
- The TMP117 BGA is tiny: 1.5x1.0 mm
In the picture, you see the stretch PCB with its pads for the TMP117 temperature sensor:
After days of tinkering, we found a solution to reball the BGA with low-temperature solder balls that melt at 137°C instead of the standard 217°C.
Prerequisites
- A metric ton of patience
- Heat plate with controlled variable temperature
- Solder iron with tiny flat-ish tip
- 2 tweezers
- A piece of sheet metal (any material that conducts heat)
- Soldering flux
- Low temperature solder paste (Sn42Bi58, 138°C melting point)
- Low-temperature solder balls (Sn42Bi58)
- Lots of lint free swabs
- Cleaning alcohol
Overview of the whole procedure
- Unsolder high-temperature solder balls
- Coat BGA pads with low-temperature solder
- Solder new low-temperature solder balls
1. Removing the original high-temperature solder balls
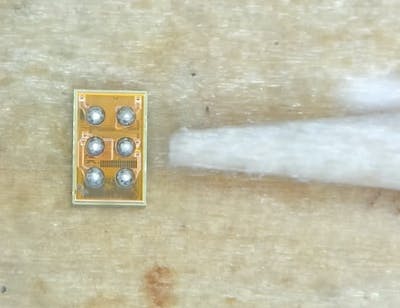
Starting out, here's the original device:
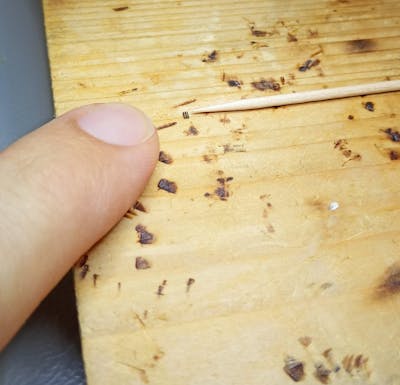
First, we apply flux to the device's bottom:
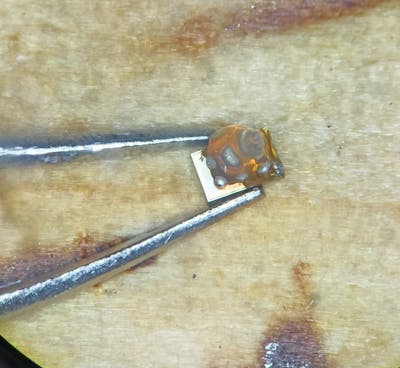
Using the soldering iron and repeated application of flux, gradually remove the solder balls by briefly touching them with the soldering iron (which will bind some of the solder) and then cleaning the soldering iron tip.
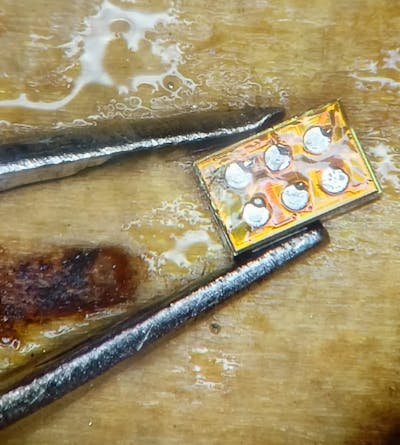
2. Coating BGA pads
This step is crucial so that the new low-temperature solder balls have it easier to melt to the pads in the next step of the process.
Apply low-temperature solder paste to the bottom of the BGA:
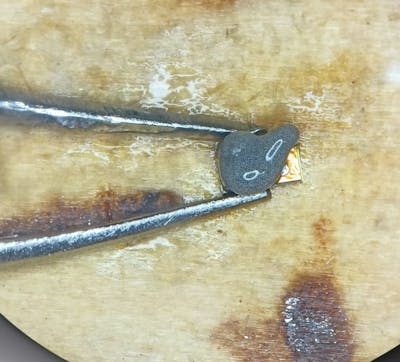
Using the soldering iron, wiggle a bit around on the pad, thus replacing the remaining high-temperature solder with low-temperature solder. Most of the solder paste will just adhere to the iron tip; that's fine.
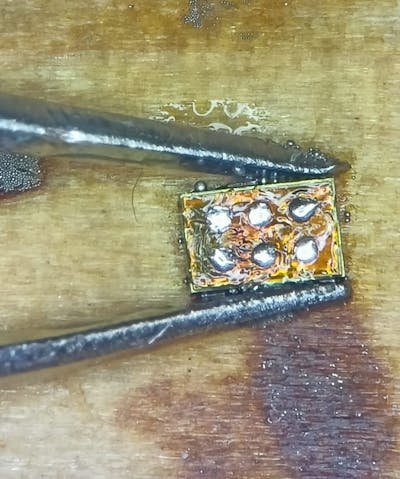
Using again repeated application of flux and brushing the pads with the soldering iron, you should be able to clean off most of the low-temperature solder. The reason is that you don't want it to bulge upwards on the pads or the solder balls tend to resist placement in the center of the pads.
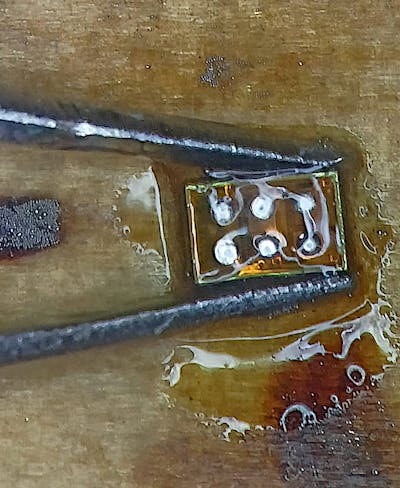
Now, in a final substep, clean the device using alcohol until no flux residue remains.
(The one in the picture turned out to be a bit problematic because the low-temperature solder remains on the pad were a bit too much. Especially for the pad to the bottom right.)
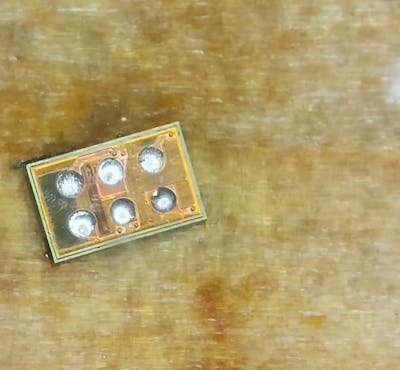
3. Soldering low-temperature balls
Now, place the device on a piece of sheet metal. In this example, we're using 2 mm Aluminum.
- Apply a drop of flux to the sheet metal and distribute it such that only a tiny layer remains.
- Place the BGA with its pads facing upwards on the flux. The flux helps keep the device in place.
- Pour a few low-temperature solder balls in a container that allows for easy pickup by tweezers. Note that they might be statically charged, so they are repelled by the tweezers.
- Dipping your tweezer's tip in the flux layer of the sheet metal first, pick up a single solder ball. The flux helps to stick it to the tweezer.
- Dip the solder ball in the flux layer. Note that it should be an almost invisible amount of flux sticking to the solder ball. It will help to stick it to the BGA's pad.
- Important Don't allow any flux bridges between the pads! They will cause the solder balls to swim to their neighbor as soon as you heat everything up. If you cause a flux bridge: remove all solder balls and clean the BGA's pads with alcohol. Try again.
- Using help from your second tweezer, place the solder ball directly dead-center on the BGA's pad. This takes a lot of patience! It's better to break off and try again when you start getting jittery fingers instead of risking any flux bridges.
You can see the placed solder balls on the BGA here:
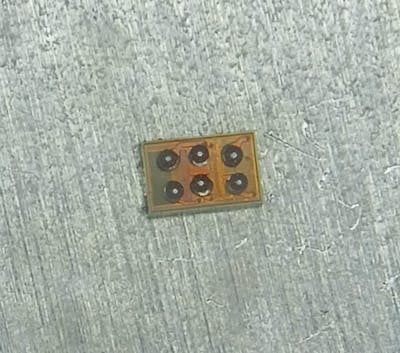
Now, carefully place the sheet metal on the heat plate and heat it to just below the melting point of the solder (130°C). The heat will activate the flux and make it much less viscous. You might see the solder balls move a little bit on their pads. If any of them swim to their neighbor: bad luck. Clean off the BGA and repeat step 3.
Finally, increase the heat to slightly above the melting temperature of the solder (140°C). You should see all solder balls melting (getting shinier), some moving around on their pads, but not necessarily melting to their respective pads. Don't worry. Take some flux and touch any of the BGA's bottom edges with it. The flux will instantly "melt" and spread on the BGA's bottom, helping the balls to melt to their pads.
All that's left now is to take the sheet metal off the heat plate and let it cool down a bit. The BGA now might stick quite well to the sheet metal. That is fine - just begin cleaning the BGA for the last time using alcohol. It will start dissolving the sticky flux below the device, and eventually, you can gently push it off (in a sliding motion - don't try to lift it!) onto a puddle of alcohol.
Congratulation! You made it! Just for comparison - reballing the first BGA took me a whole afternoon, then a morning for two, then two hours for four. So take your time, don't rush!
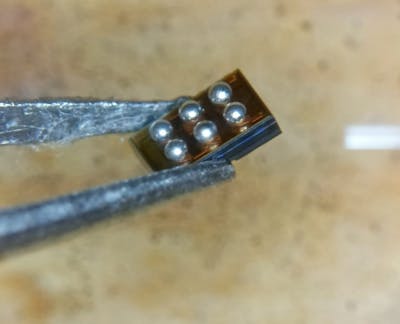
Here's what the finished device looks like after cleaning:
EDIT 1:
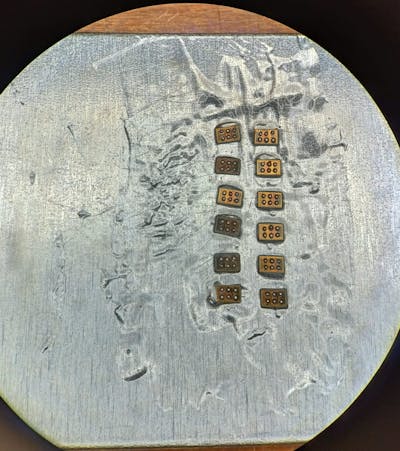
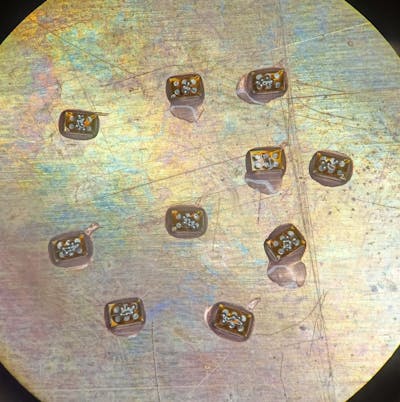
Remember what I said about the risk of the solder balls getting sucked towards each other? Well, that happened to me the day after writing this post when I tried to process 12 devices at once. I ended up using too much flux below the components which allowed them to clump together and the flux to creep up, allowing the solder balls to clump as well.
This is what it looked like before firing up the heat plate:
And this is after I took the ones that had clumping solder balls off the heat bed. Luckily, the temperature was only 130°C, meaning that the solder balls hadn't melted. So I "only" lost half a day of work.
EDIT 2:
Turns out that the two available solder fluxes behave quite differently in terms of surface tension. The other day I tried using a different flux type than what I used when I originally wrote this post. Here are my findings.
- Chip Quik NC551-5M repels the solder balls from the chip edge, draws them towards each other. Good for all parts in step 3.
- Chip Quik SMD291 shouldn't be used at the end of step 3, because it sucks/wipes the solder balls from the chip's surface as soon as you touch the chip's edge with a flux droplet. However, if we're using this type of flux to stick the solder balls to the BGA pads, they move much less and stay centered during heating up to 130°C, compared to NC551-5M flux, thus less chance of the bad things happening in EDIT 1.

